Table of Contents
Using USGS Imagery with GeoConvert
Welcome
Welcome to the GeoConvert tool tutorial for using USGS Imagery. In this tutorial you will learn the steps to add your very own photo-real scenery to Aerofly FS2 so that you can fly over your own special areas of your choice. Please understand that this tutorial may change pending any changes to the tool and its processes. More will also be added to the tutorial as further features are added. We hope that you enjoy your newly realized freedom. Happy Flying!
This tool is not a simple plug and play application, you may need some practice to be successful. Please post any issues that you may be having onto the forum where the community can assist you.
Prerequisites
The USGS Viewer
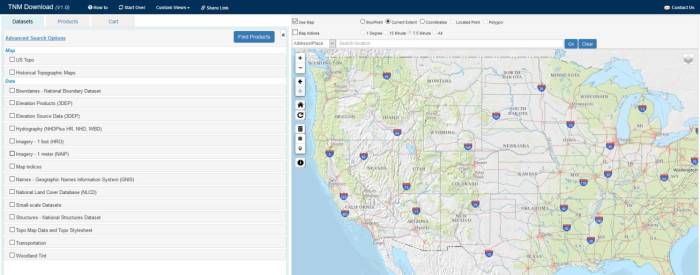
https://viewer.nationalmap.gov/advanced-viewer/
- Select the menu: Link to Data Download
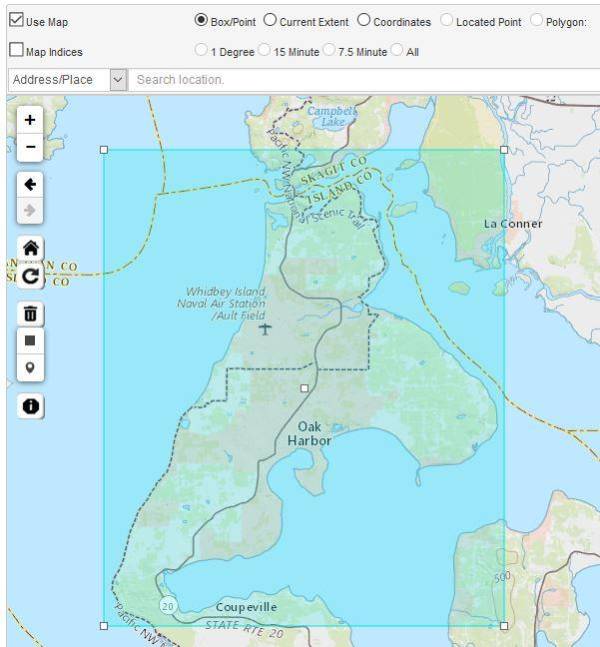
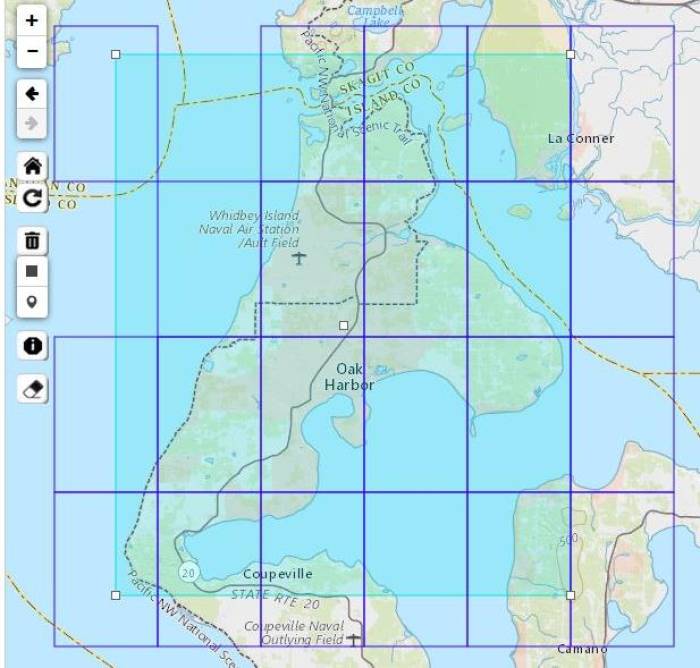
- Zoom into a small area. Press the button Box/Point and draw a rectangle.
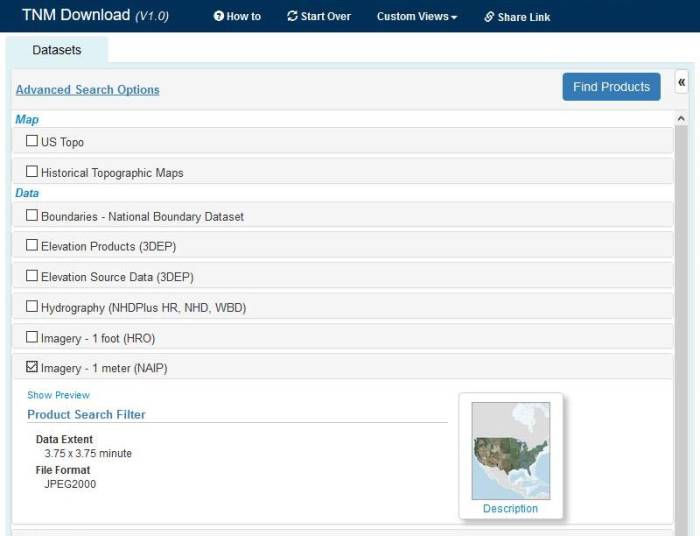
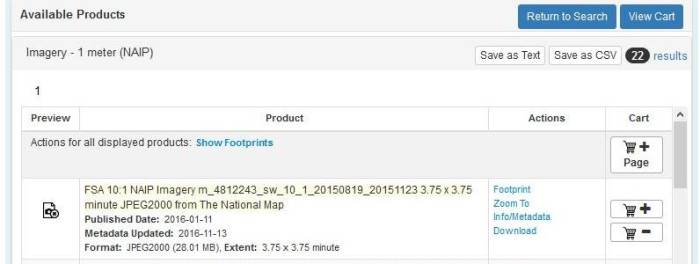
- Select Imagery – 1meter (NAIP) and press the button “find products”
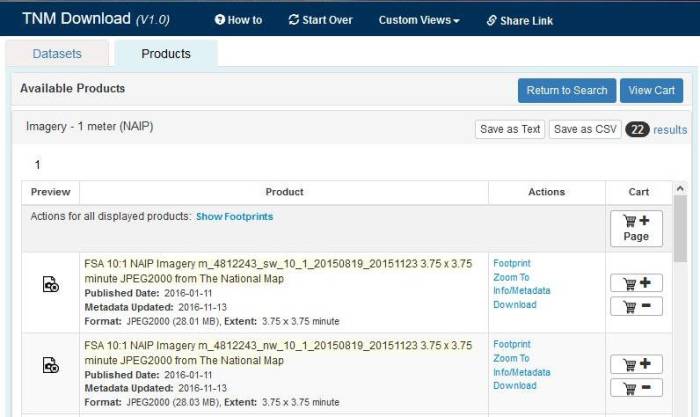
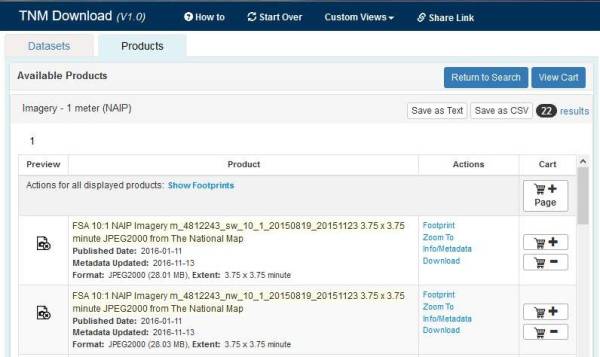
- The Viewer then presents the result of the search
- Select Show Footprints to see the image frames
You can now adjust your frame by selecting one of the edges, press the button ‘Return to Search’ and repeat the search again. If your area fits your requirements, press the button “+Page”.
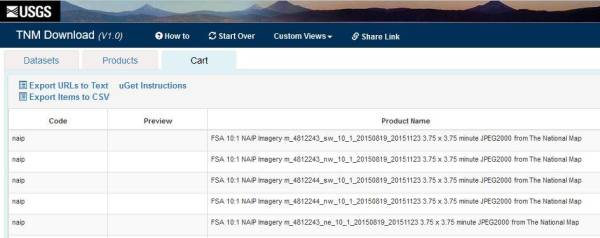
The resulting image list will be added to the cart. Now view the cart by pressing ‘View Cart’.
Press the button Export URLs to text. Now start the uGet Download Manager and follow the USGS description. Import the list and the download starts automatically. The resulting images have the file format .JP2.
Batch conversion
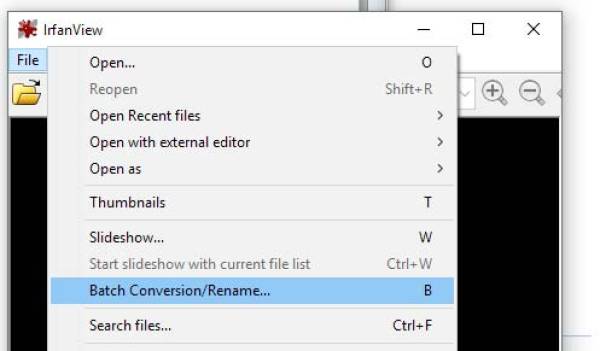
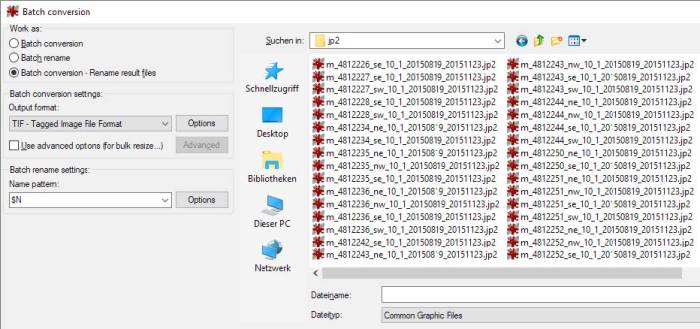
Batch conversion of JP2 images into TIF (or BMP) file format, using freeware Irfanview 64 (and plugins 64).
- Start Irfanview 64
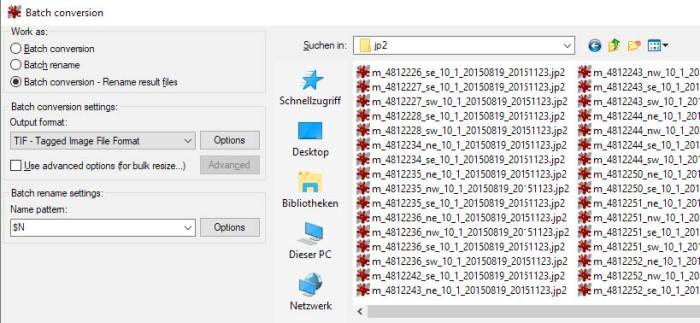
- File – Batch Conversion/Rename
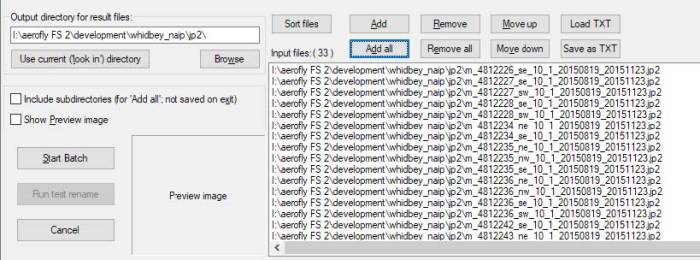
- Select your directory
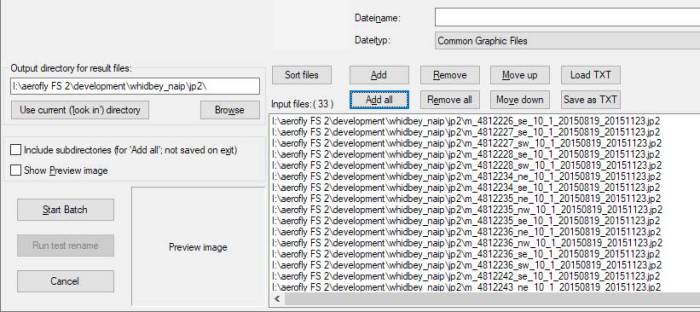
- Press the button 'add all'
- Set Output format to TIF
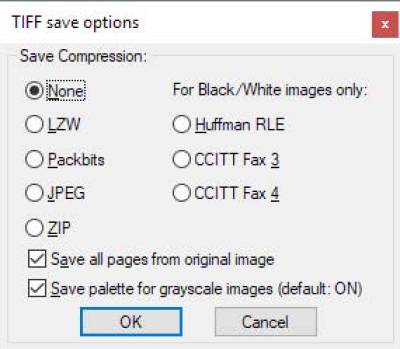
- Set Options to No Compression, Save all pages from original image
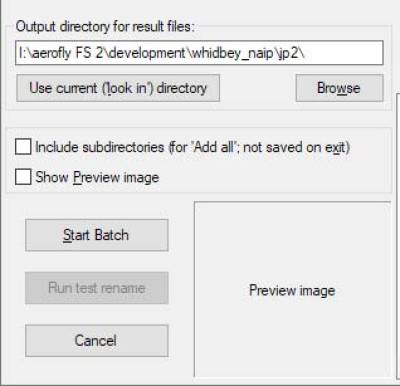
- Press button ‘Use current directory’ for result files
- Press ‘Start Batch’
Irfanview now runs all conversions in the batch and returns the result as a text display.
Manually setup a coordinate file for the USGS image
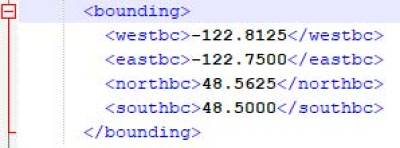
The USGS viewer offers Info/Metadata about the selected image. You can view and/or download the .metadata. It has the same name as the image file with the extension .XML
- The file contains the corners of the image.
- Additionally we need the pixel size of the current image
- Now let’s calculate the data
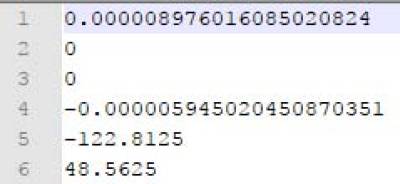
- This is the final .TFW file
| Line 1: The horizontal resolution degree/pixel |
| Line 2: Set to 0 |
| Line 3: Set to 0 |
| Line 4: The vertical resolution degree/pixel set to negative. |
| Line 5: The longitude coordinate of the topleft corner Line 6: The latitude coordinate of the topleft corner |
Setup the config-region.TMC and run the Geoconvert program
Please refer to the other reference tutorials for finalizing your project. You can find these steps here:


