Table of Contents
Adding Scenery Objects
Are you interested in importing objects into Aerofly FS 2 scenery? This is how you do it. Use this tutorial for creating your own objects as well! Let's get started.
Prerequisites
- A supported 3D modelling software with *.tgi exporter, in this tutorial we used AC3D 8.0.50a
Required AC3D Plugins
We will need the OBJ importer plugin for AC3D as well as the Aerofly *.tgi exporter plugin from the SDK.
Note The common installation location for AC3D plugins is:
C:\Program Files (x86)\AC3D 8.0.50a\plugins
You can download the OBJ importer plugin from here:
http://www.inivis.com/forum/showpost.php?p=31428&postcount=3
- Unzip the download to any location.
- Move the obj_import.p file to the appropriate plugin directory of AC3D.
From the aerofly SDK package
- Copy the ipacs_ac3d_to_tgi.p file to the appropriate directory of AC3D.
Using an existing model
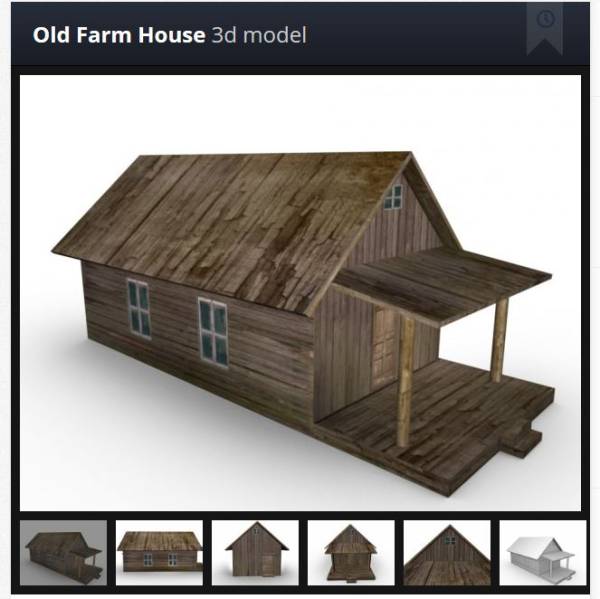
In this example we will use a small farmhouse. Download the farmhouse here: http://tf3dm.com/3d-model/old-farm-house-91130.html Be sure to give credits to the author.
Preparing the Textures
- Unzip 2l9281qs868w-Model.zip to any location.
- Now start any graphics program and open the file Farmhouse Texture.jpg and save it as BMP with the file name farmhouse_color.bmp.
- Open the file Farmhouse Texture Bump.jpg as well and save it as farmhouse_bump.bmp.
- Move both BMP files to your destination directory of the SDK scenery_workshop. In my case this is: \Documents\Aerofly FS 2\aerofly_fs_2_sdk\scenery_workshop\farmhouse.
Preparing the Model
- Start AC3D and select the function File –Import : Farmhouse OBJ.obj Note You may get an error message “Can’t open mtl file ‘Farmhouse’ for reading, default material will be used.” Just go on with import.
- Next save file as: farmhouse.ac to the folder: \Documents\Aerofly FS 2\aerofly_fs_2_sdk\scenery_workshop\farmhouse.
- Reattach the BMP texture file to the 3D model. Object – Texture – Load texture: Select the farmhouse_color.bmp in our destination directory \Documents\Aerofly FS 2\aerofly_fs_2_sdk\scenery_workshop\farmhouse
The result is immediately visible.
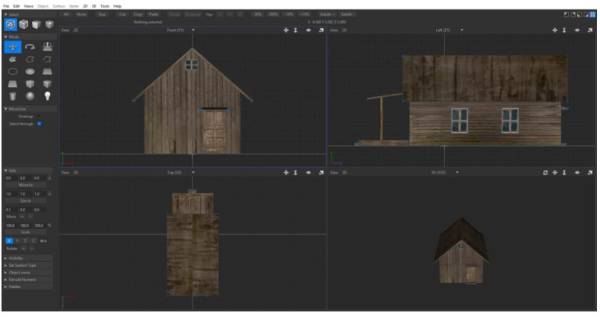
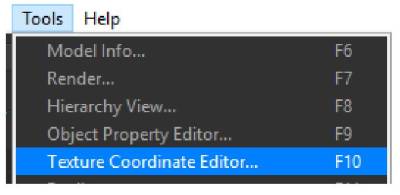
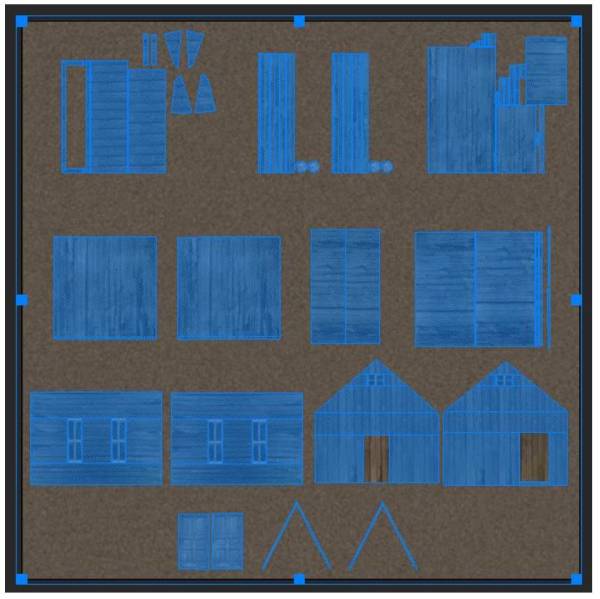
Control the texture fitting by selecting all, then Tools – Texture Coordinate Editor (or just F10).
This image shows, that the texture position is still correct.
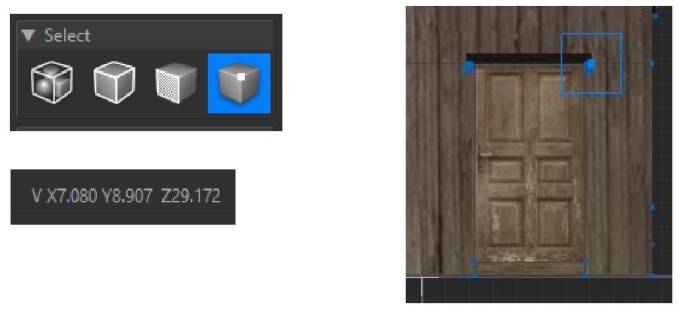
We have to calculate the size of the object. Select Vertex, click to the vertex point above the door and note the coordinate values.
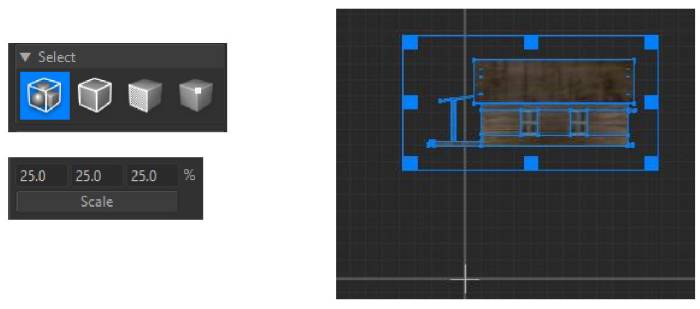
Aerofly FS 2 uses metric measurements. This means, the height of the door is now 8.907 meters. We will scale it to 25% for a realistic door height. Select the whole model and set scale to 25%. Note: 1 meter = 1.09361 yards.
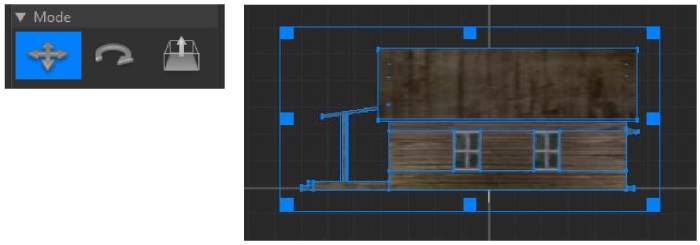
Next we shift the whole model back to the ground line.
Save your file again.
Export to TGI format
When the preparations have been completed we use the export function to create the *.tgi file. Select File – Export – Ipacs TGI files (.tgi) Enter the name e.g. “farmhouse.tgi” and select your intermediate destination directory where all the .bmp textures are located, e.g. \Documents\Aerofly FS 2\aerofly_fs_2_sdk\scenery_workshop\farmhouse\
The TGI Format is the intermediate geometry file that is the same regardless which modeling software you used. This way it doesn't matter which modelling software was used, the file is re-usable even if the modelling software is no longer supported or desired.
Notes
- Please use for your file names only small characters without blanks to enable cross platform compatibility
- The BMP files have to be squares with a power of two as in our example. E.g. 1024 x 1024 or 2048 x 2048. (If this is not the case, you have to create a square and perhaps remap the texture position).
- The BMP file requires the addition “_color.bmp” for the color texture file.
Converting to Engine Format
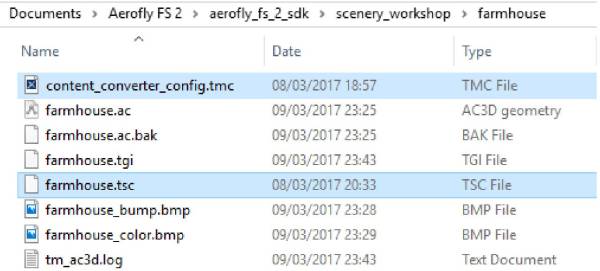
You will need 2 more files: content_converter_config.tmc and a farmhouse.tsc file. You can copy the one from our example airport tutorial and rename the .tsc file to “farmhouse.tsc”. Place them into the intermediate directory where the TGI file is located as well as the bmp textures.
Before you run the final conversion, You will have to calculate the position of your object so that it shows up at the correct location.
Find the coordinates of your desired location for the house as described in the Geographic Coordinates wiki page.
Setting the Coordinates in the TSC File
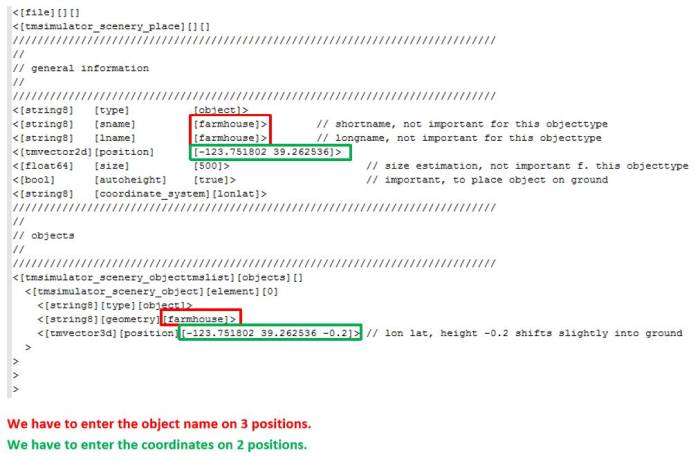
Open the file farmhouse.tsc with a text editor and change the “position” field.
Make sure to enter the coordinates as lon/lat (°E °N) and not the other way around or your house will end up somewhere completely different!
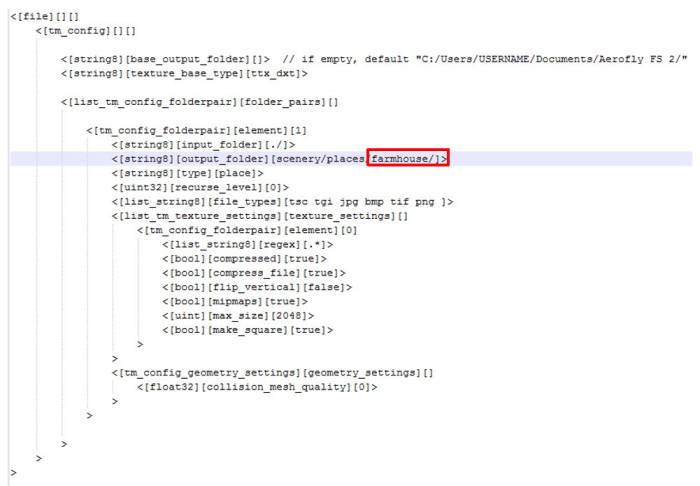
Open the file content_converter_config.tmc with a text editor. Note - You will have to enter the object only once.
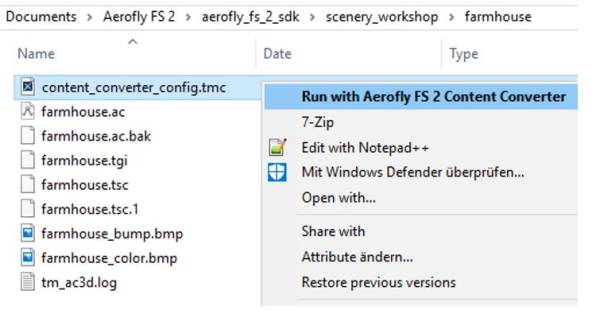
Last step: Run the converter.
Click file with right mouse button, select Aerofly FS 2 Content Converter
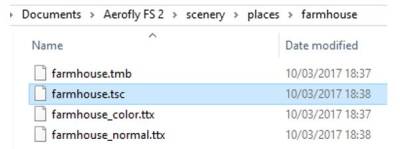
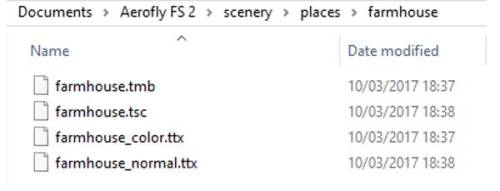
Do not interrupt the black shell window. After the process is finished, the tm.log documents the result of the conversion. Now there is a new subfolder farmhouse in the scenery places.
Check the Result
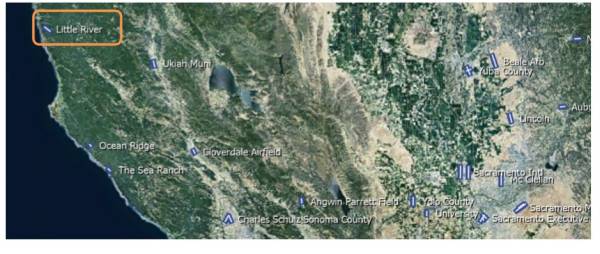
Start Aerofly FS 2, open Location menu, move the map to the north of San Francisco. Select the airfield Little River
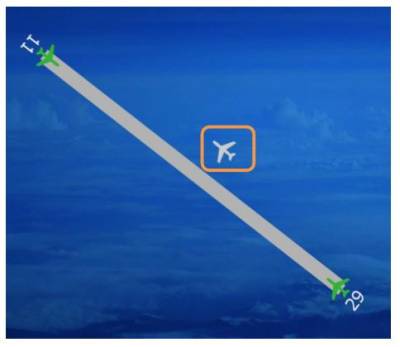
Select the park position in the middle of the runway.
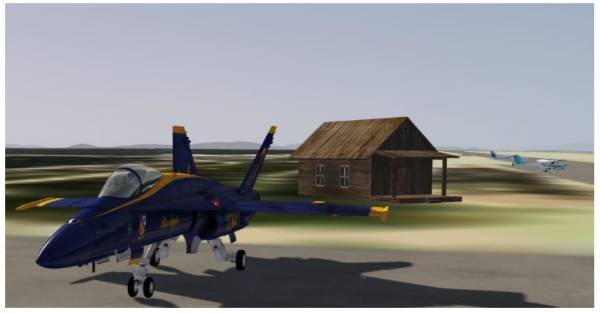
In the engine you should now see your new house. Make sure not to burn it down with your afterburners though 
The converter has automatically copied the tsc file into your user directory.
You can also change this file to move the house around without having to start the converter again. Just make sure that you copy your final result into your intermediate directory before you run the converter again.
